Before starting, ensure GRID Enterprise is installed on your machine. If not, follow the installation guide.You should also have your license.json and resource_config.json files configured in ~/.grid/.
Authenticate with the registry and start the containers:
login @localinit airgen @local
Show Expected Output
GRID # login @localLogging in to General Robotics – GRID registry...Login successful!GRID # init airgen @localInitializing assets …Assets initialized.Starting airgen on local …Checking container statuses...grid_core: ✓grid_server: ✓grid_sim_airgen: ✓Containers are active.
First-time initialization downloads container images and may take several minutes.
GRID # session start hello_gridUsing sample config at /home/grid/.grid/sample_session_airgen.jsonStarting session hello_grid on node local …Status: Initializing session...Status: Downloading content...Status: Session has been started successfullySession started successfully.
Since no config file was specified, GRID generates a sample configuration automatically.
2
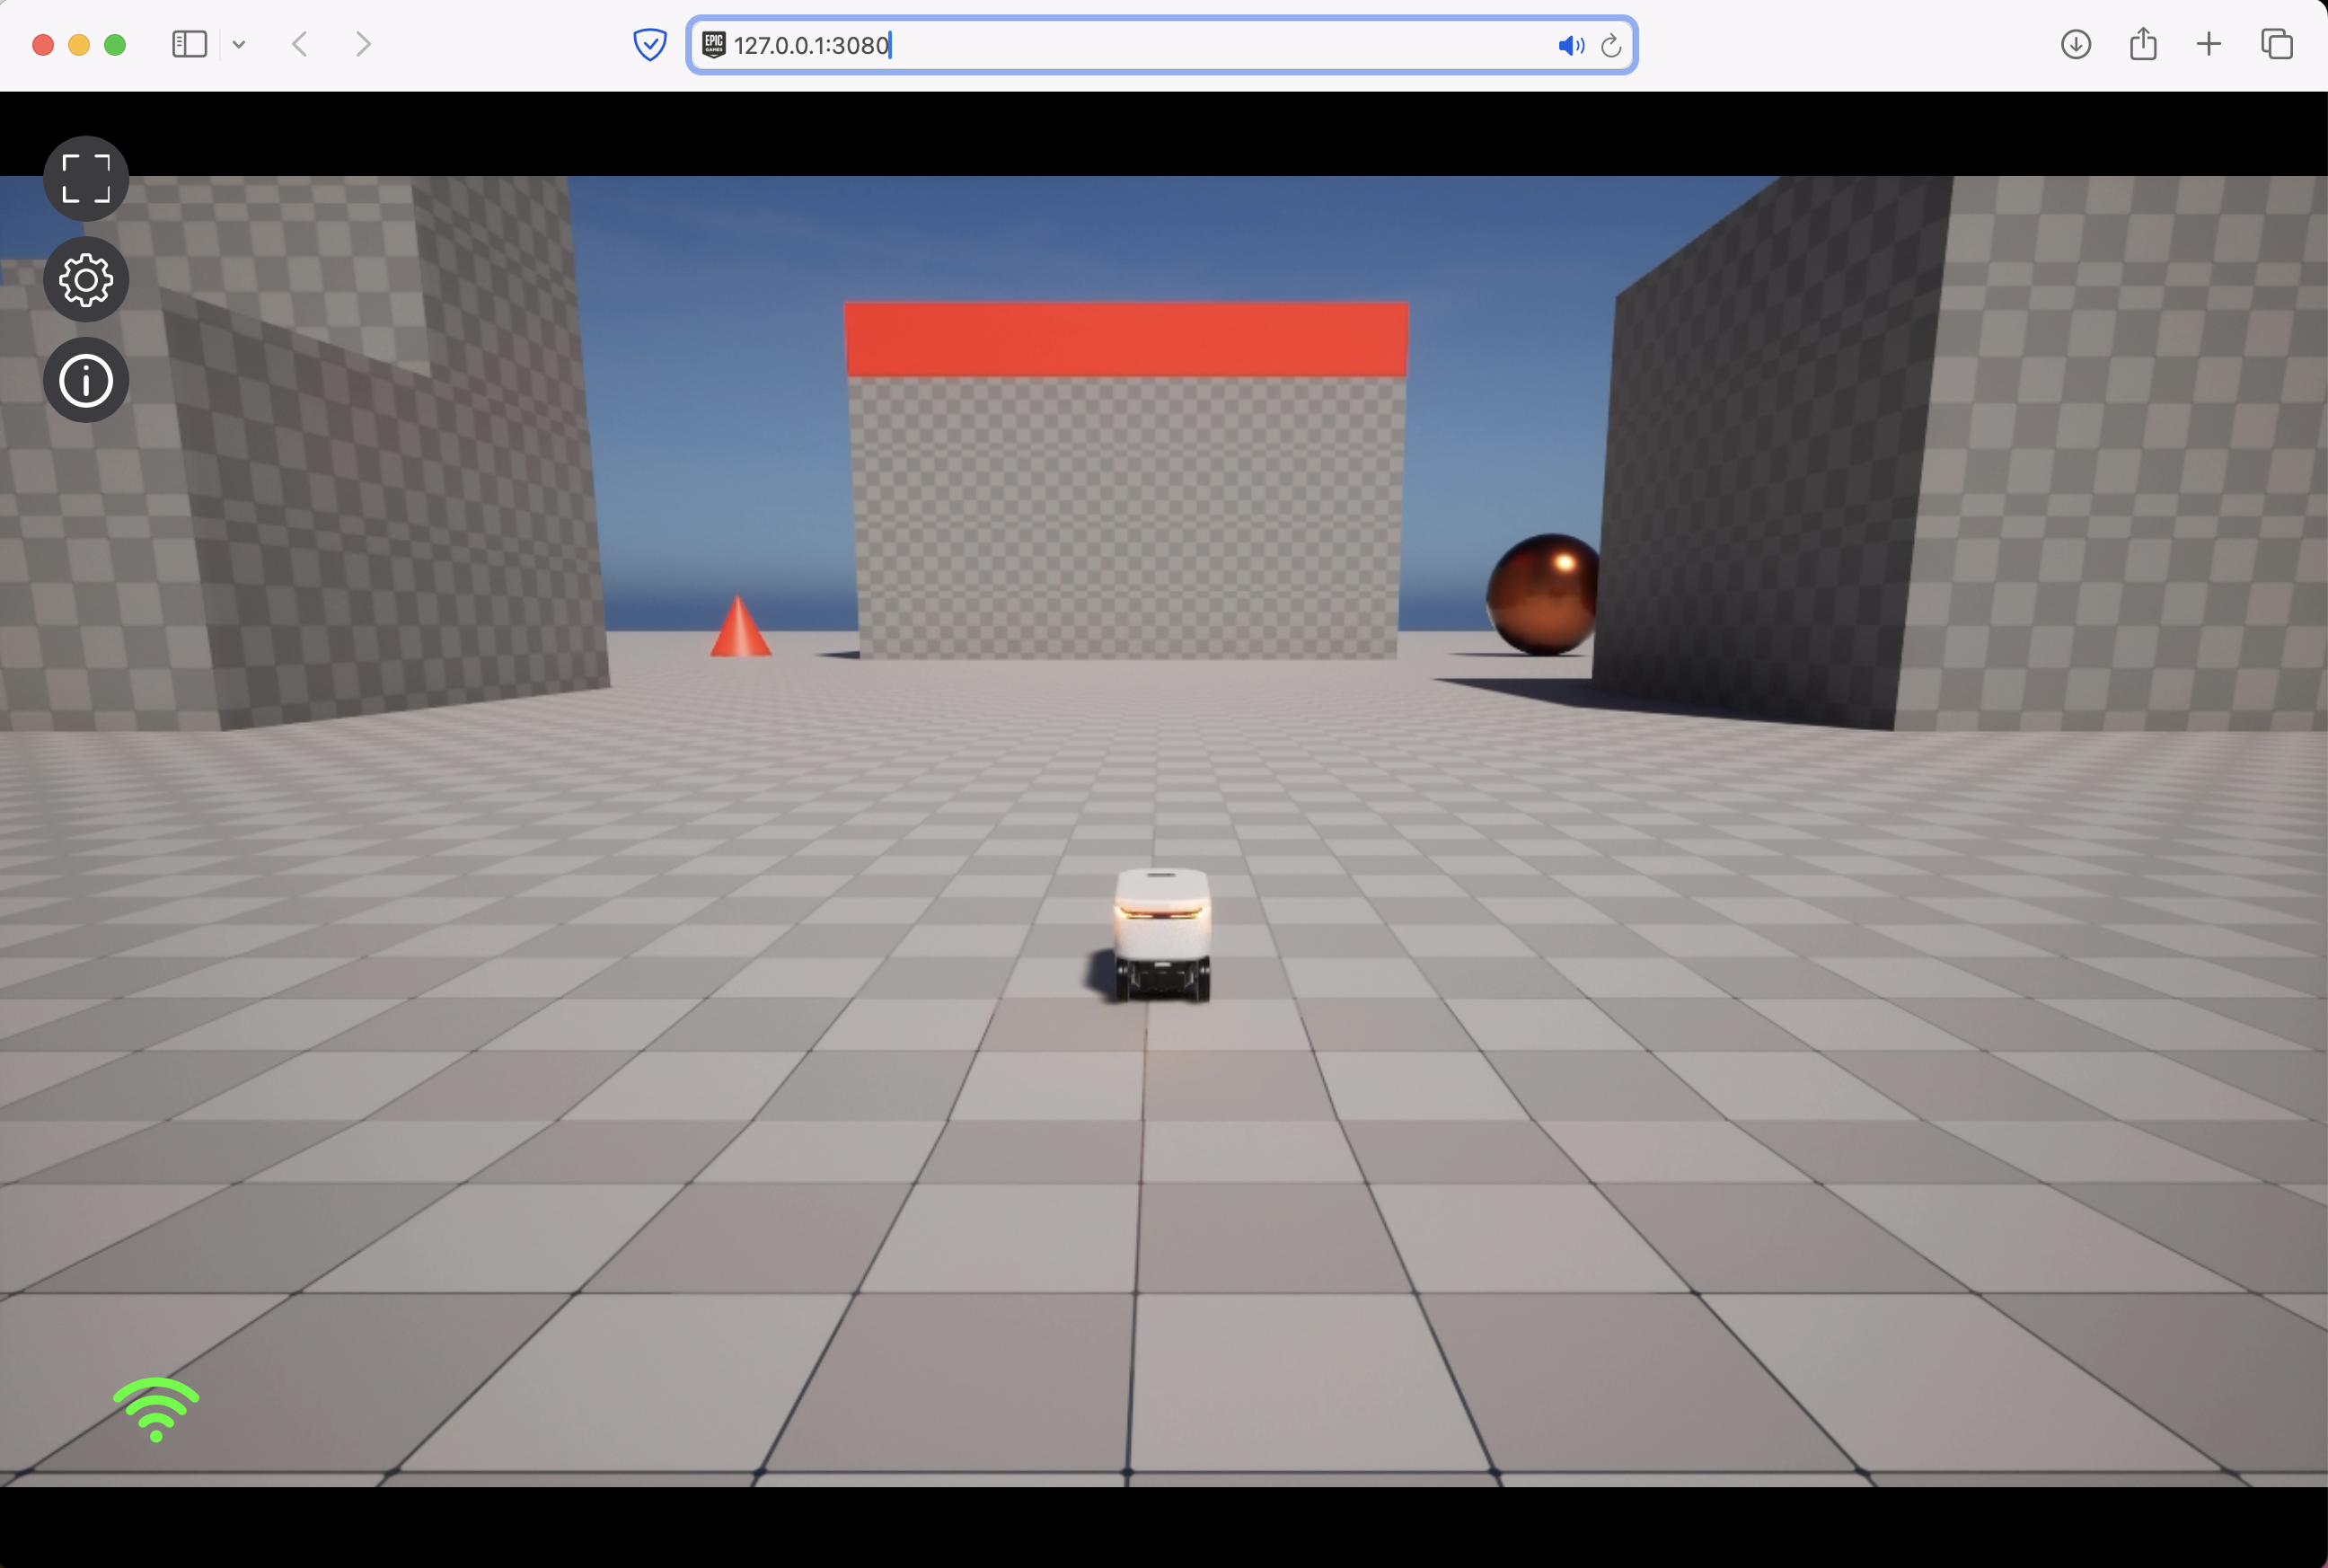
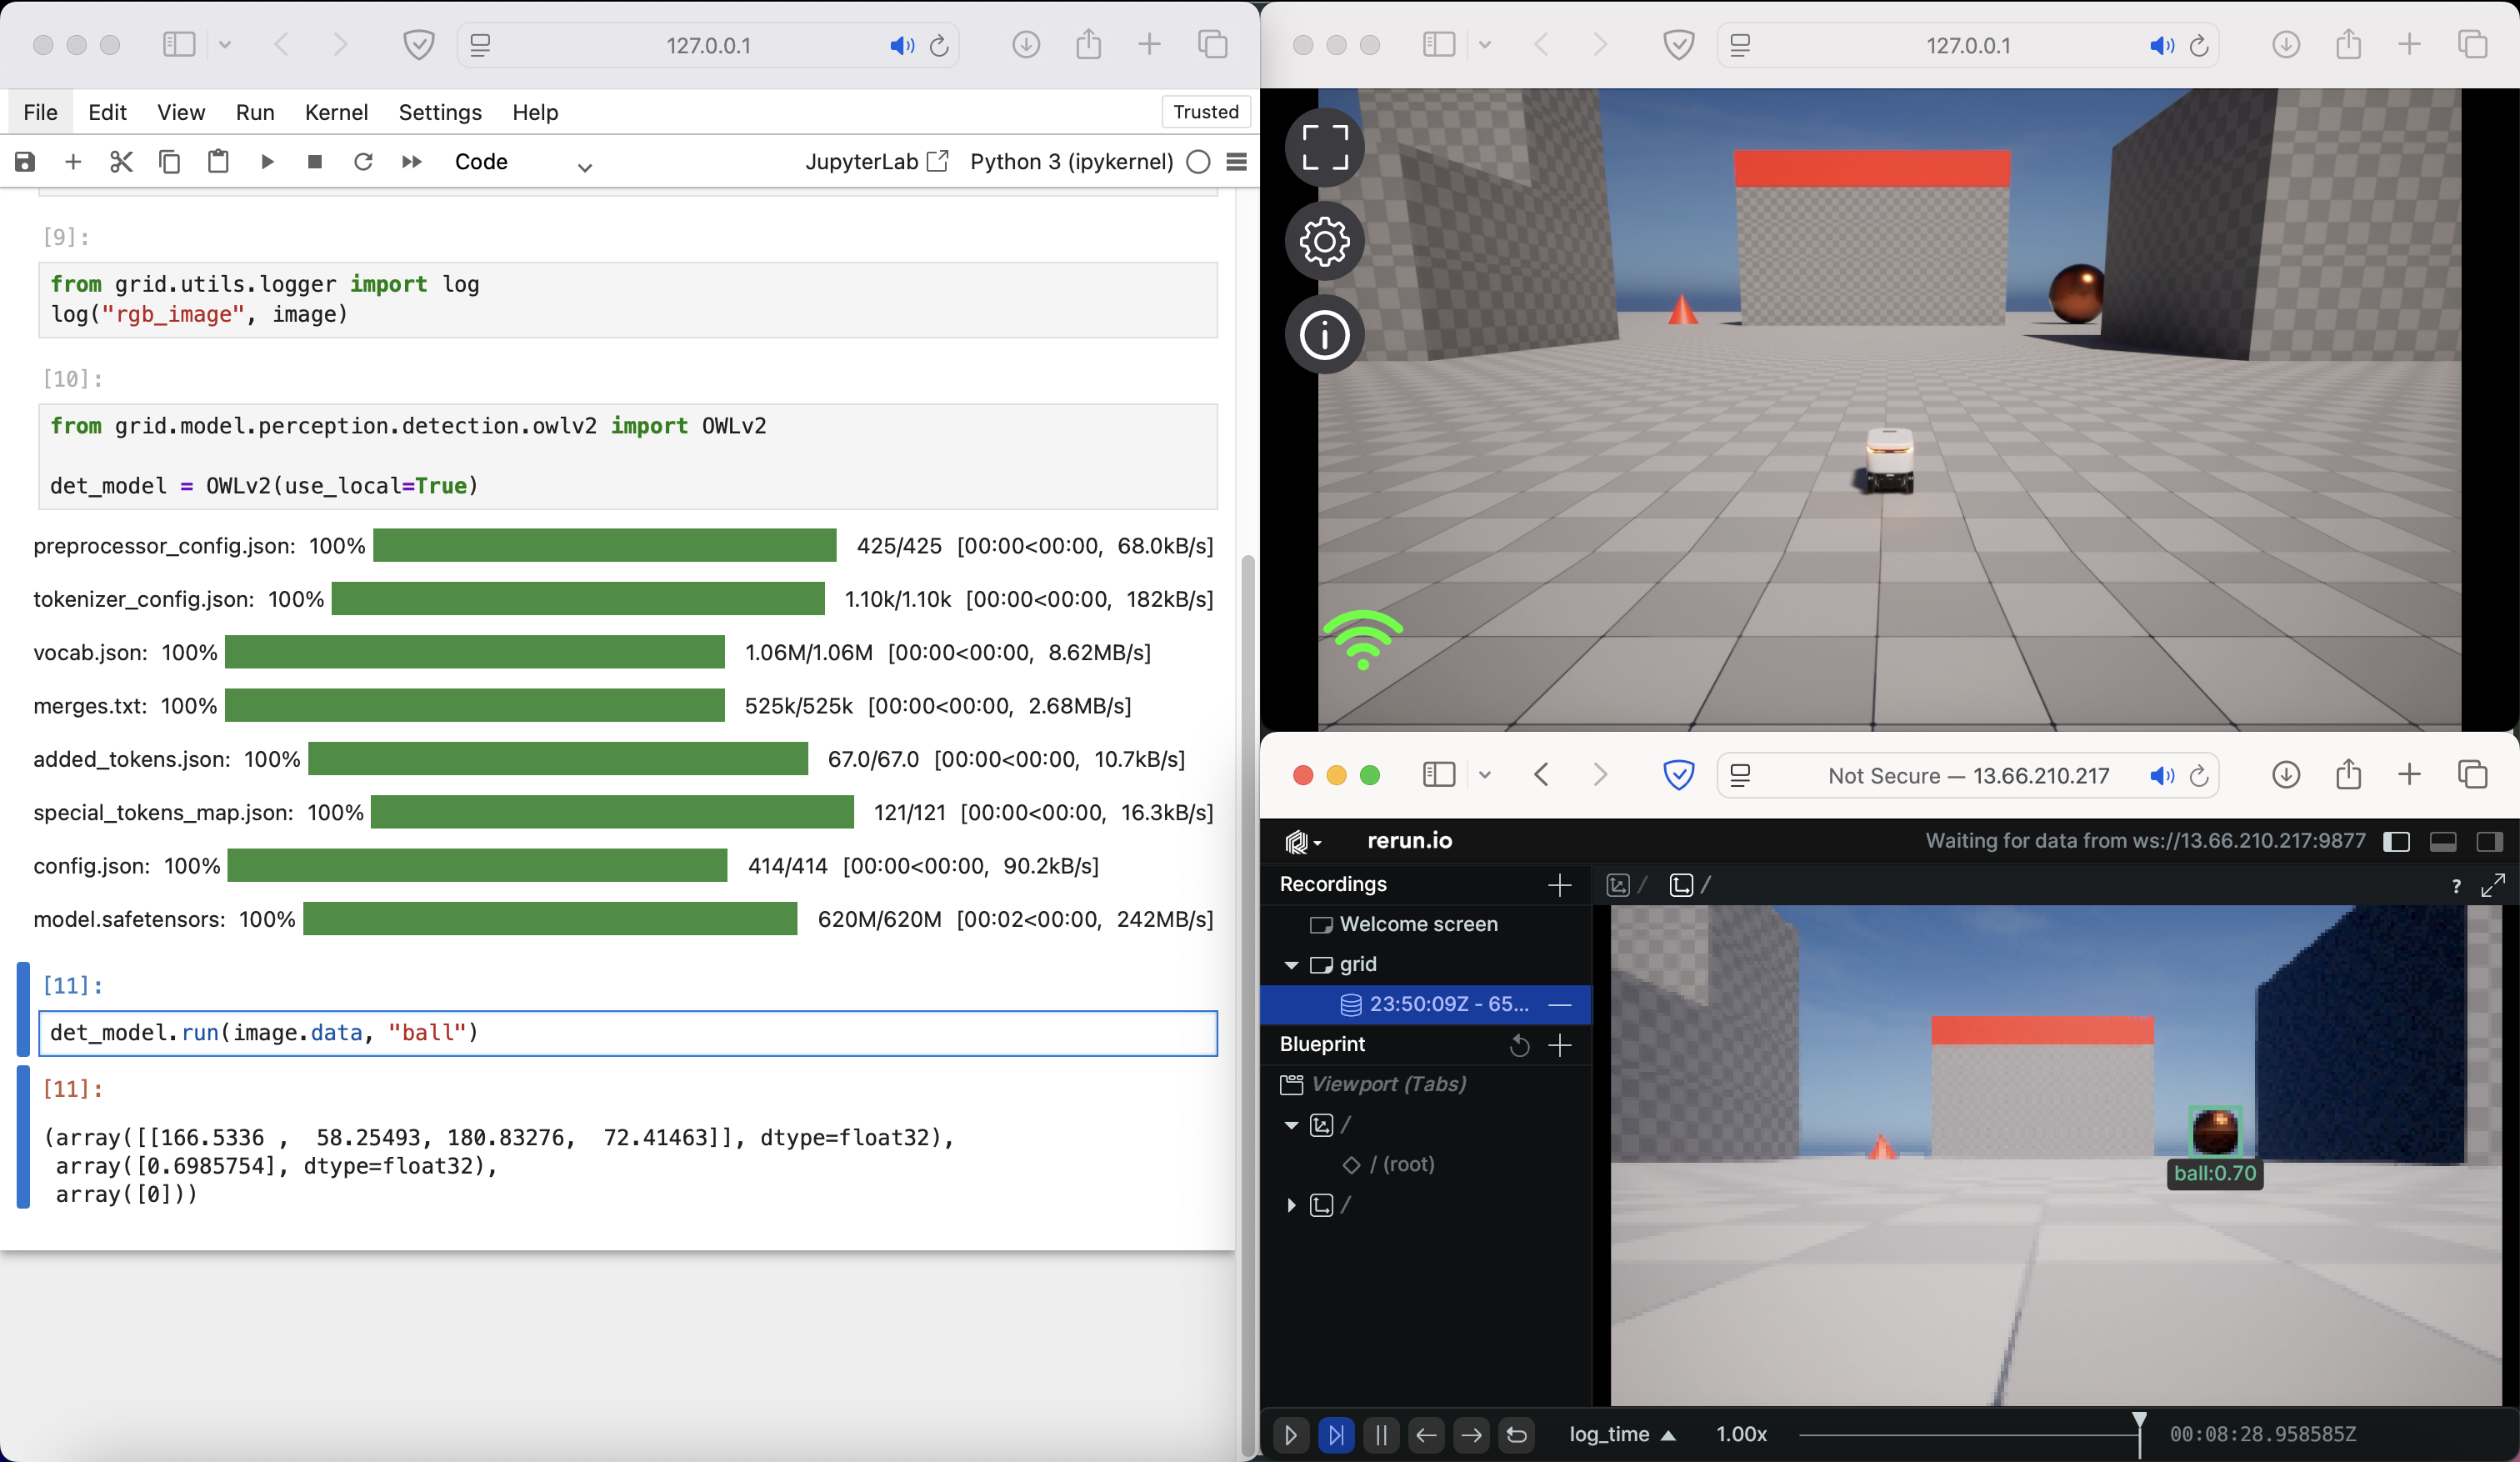
Open the Simulation
View the simulation in your browser:
open sim @local
3
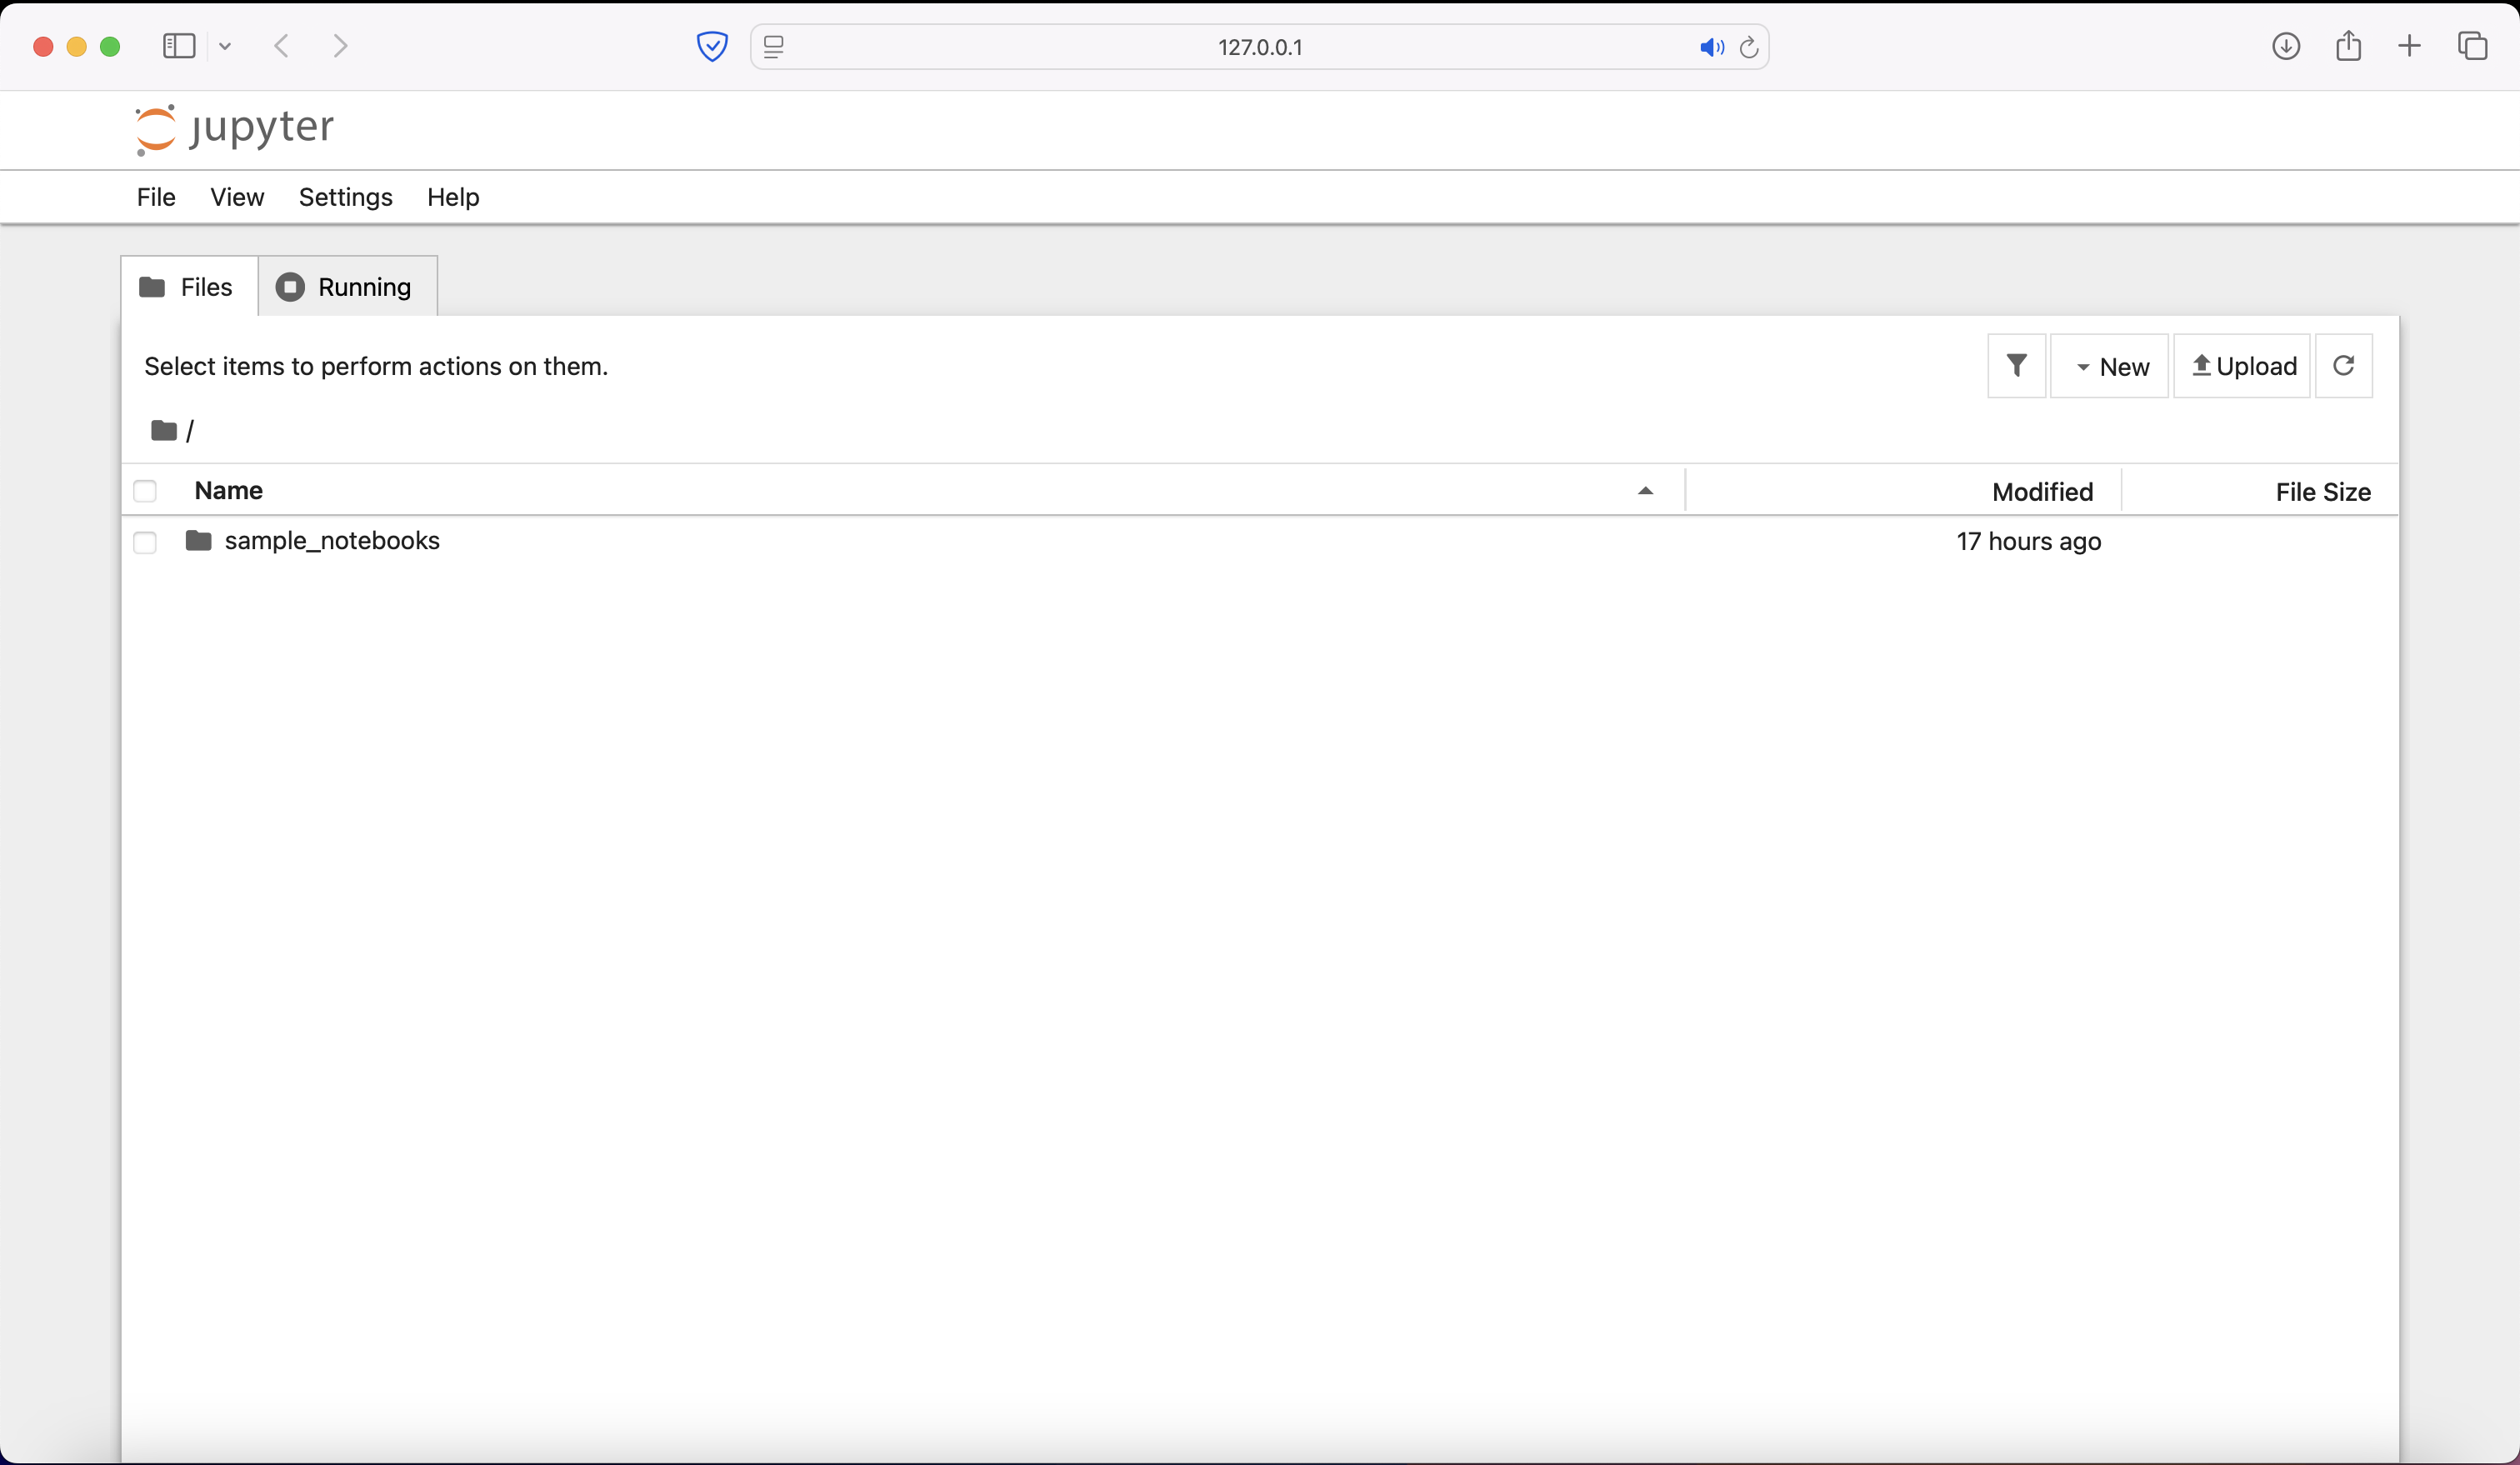
Open the Notebook Interface
Access Jupyter notebooks:
open nb @local
4
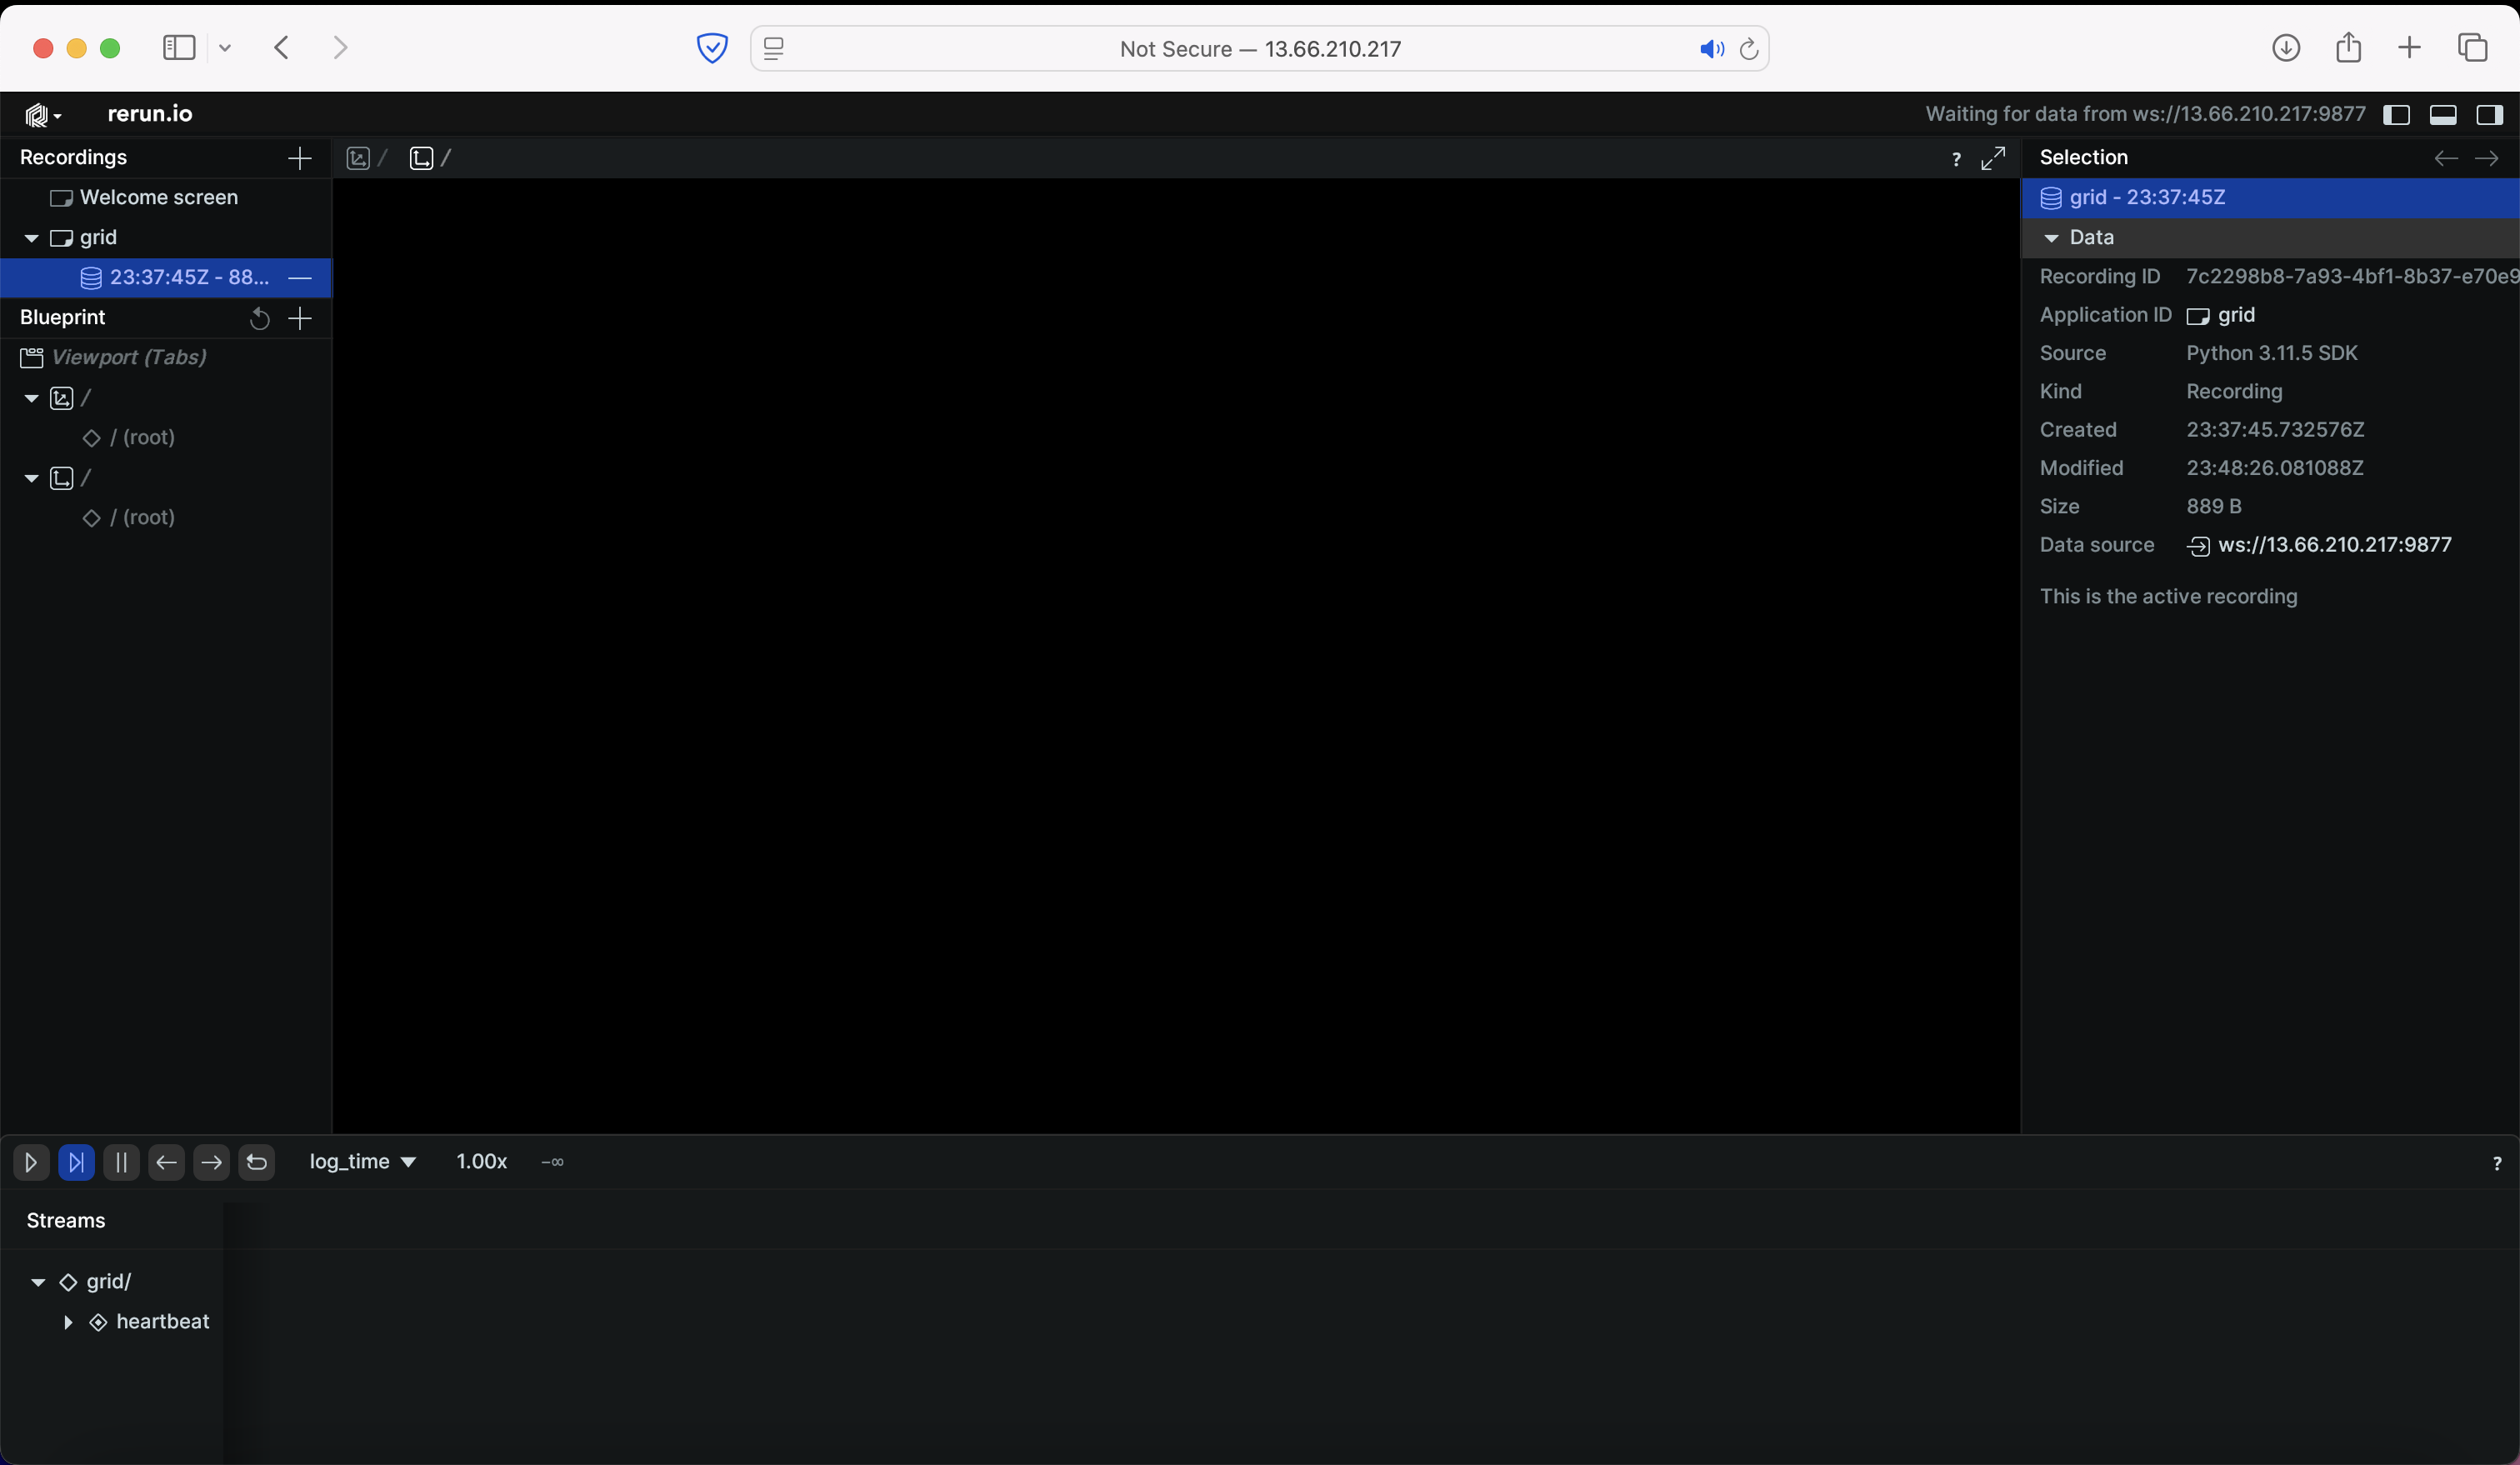
Open Visualization
Launch the Rerun visualization interface:
open viz @local
5
Check Active Sessions
Verify your session is running:
session list
Show Expected Output
+------------+-------+------------------------------+| Session | Node | Last active |+============+=======+==============================+| hello_grid | local | 2024-09-10T23:42:51.674976+00|+------------+-------+------------------------------+